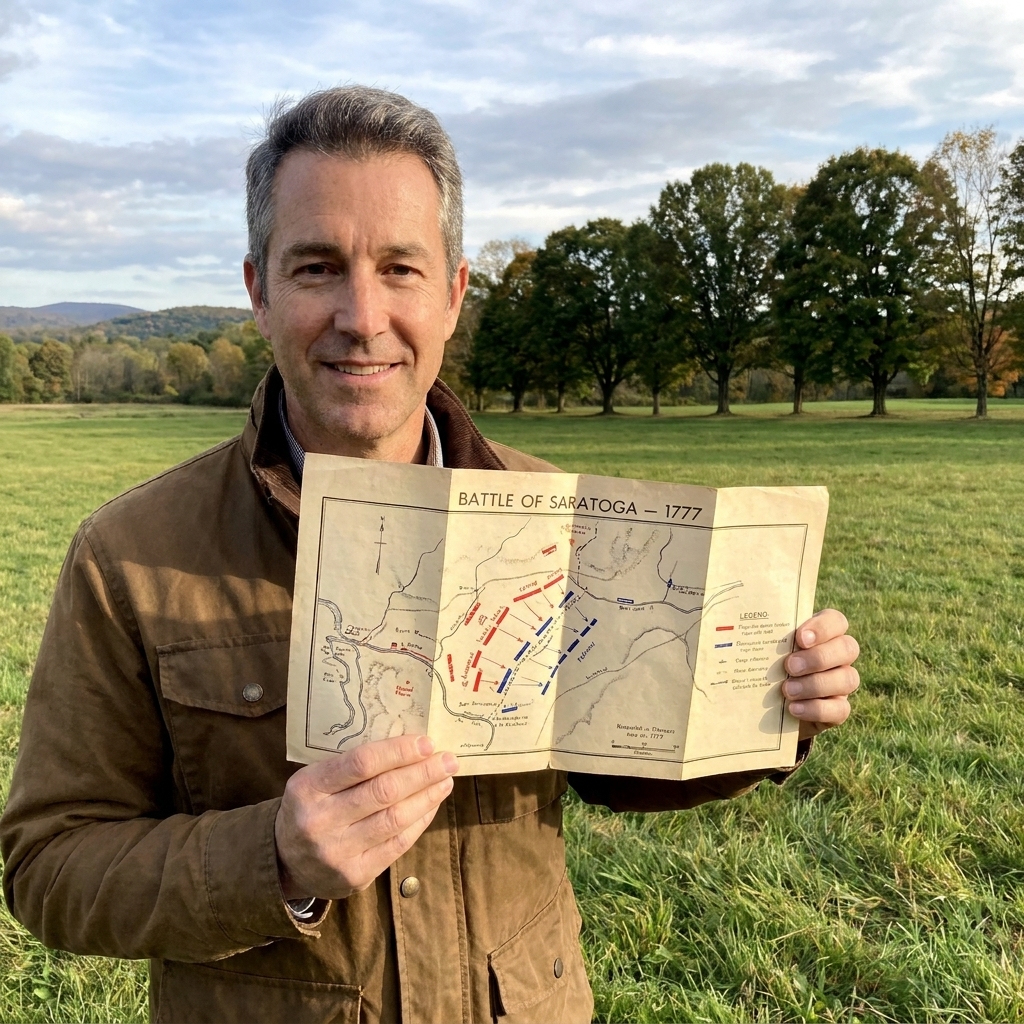

The first time I walked the fields at Cowpens, I was struck by how quiet it feels for a place that once cracked with musket fire, shouting officers, and the kind of close range chaos that leaves no room for romantic myths. This was not a grand set piece battle with armies stretching to the horizon. It was a deliberate trap laid on a rolling South Carolina pastureland, and on a single winter morning in 1781, Brigadier General Daniel Morgan turned a British strength into a liability.
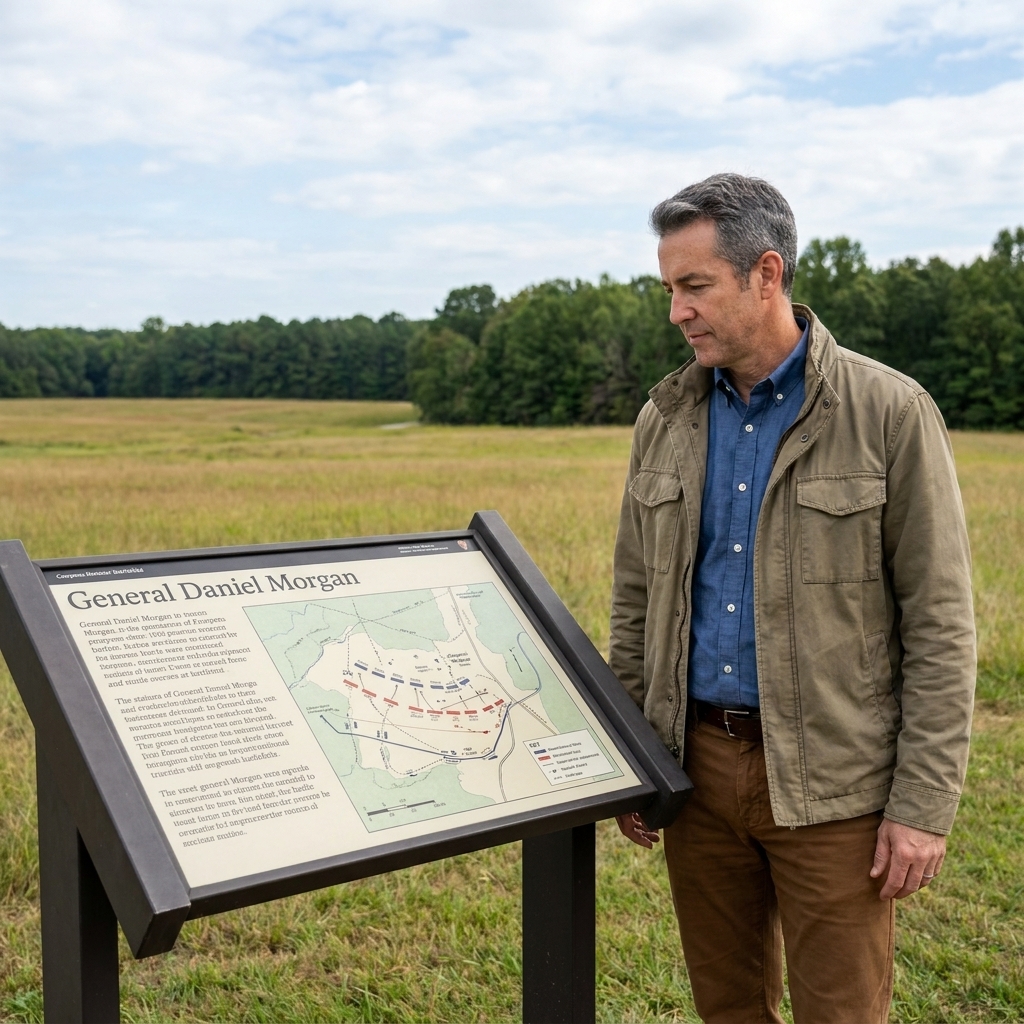
If you like Revolutionary War history that rewards you for paying attention to terrain and timing, Cowpens is one of the best stories in the entire war. It is also one of the best places to see a tactic unfold as you walk. You can stand where militia fired their planned volleys, where the Continentals held, and where a split second decision turned retreat into a rout.
Where Cowpens fits in the Southern Campaign
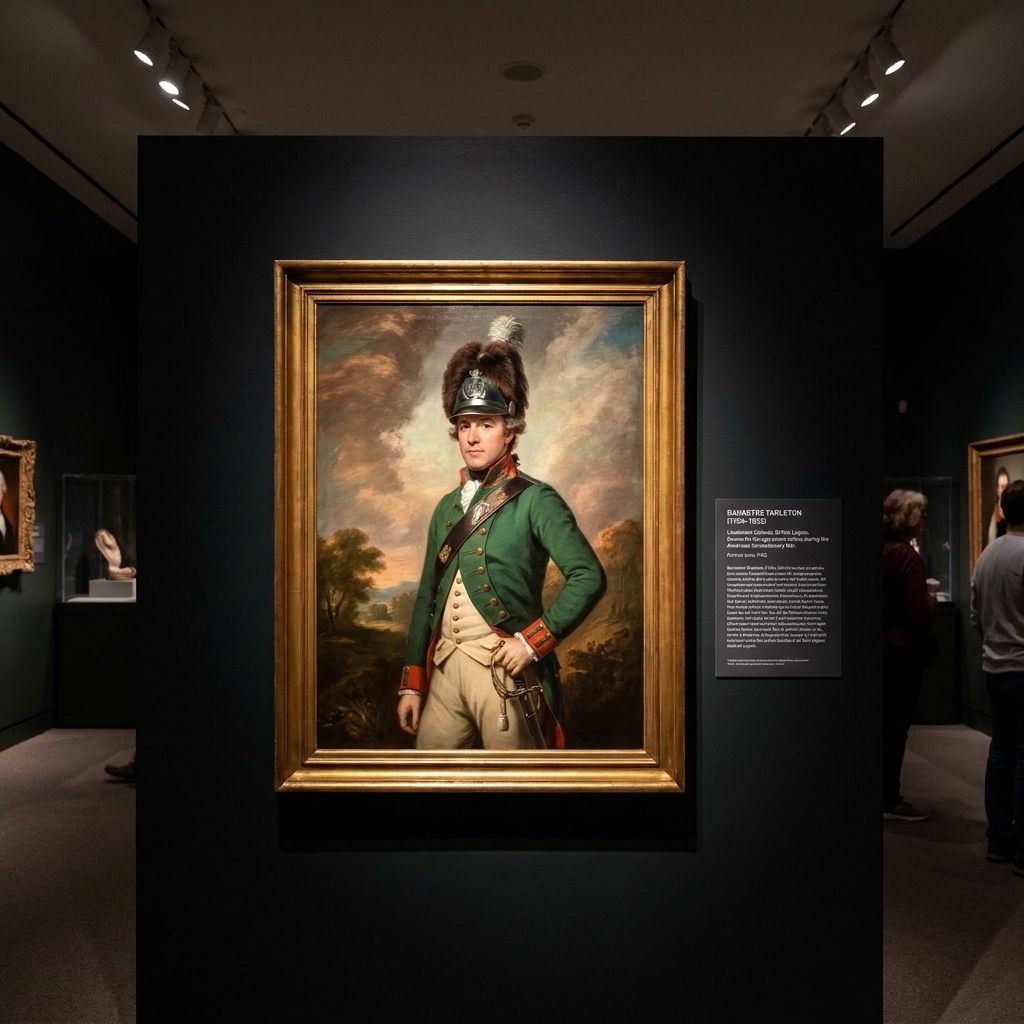
By late 1780, the war in the South had become a grinding contest of endurance and local control. British strategy leaned hard on holding key towns, rallying Loyalist support, and smashing Patriot forces in decisive engagements. Charleston had fallen. Camden had been a disaster for the Americans. The British had talented field commanders, and one of the most aggressive was Lieutenant Colonel Banastre Tarleton, whose fast moving British Legion had a reputation for relentless pursuit.
American forces in the South were rebuilding under Nathanael Greene, who understood something that maps alone do not tell you: the Carolinas were not a single battlefield, they were a patchwork of river crossings, backcountry roads, and communities with divided loyalties. Instead of seeking one all or nothing confrontation, Greene split his army, pressed British supply lines, and forced British commanders to react.
Daniel Morgan, commanding a flying corps of Continentals and militia, moved into the backcountry to threaten British outposts and draw Tarleton away from Greene. It worked. Tarleton chased. Morgan chose the ground. And at Cowpens, the chase ended.
The commanders
Daniel Morgan
Morgan was a fighter who understood people as well as he understood battle. He had seen militia break, and he had seen them perform brilliantly when given a clear job they believed they could do. He also knew how British regulars expected an American line to behave. Morgan’s genius at Cowpens was not in inventing something entirely new, but in stitching together familiar elements in a way that made the British do exactly what he wanted.
Banastre Tarleton
Tarleton was young, bold, and frighteningly effective at rapid strikes. His confidence, and his willingness to press an advantage hard, had served him well. At Cowpens, that same aggressiveness became a lever Morgan could pull. Tarleton attacked quickly, with little time for careful reconnaissance, aiming to catch Morgan before the Americans slipped away again.
Morgan’s plan, step by step
Cowpens is often summarized as “a double envelopment,” and that is true. But it can sound like a textbook label until you picture the human problem Morgan was solving. He needed militia to fight without collapsing. He needed British troops to surge forward in a way that stretched their line and muddled their command. And he needed his Continentals positioned to deliver the decisive blow.
1) Ground that forced a fight
Morgan camped near the Broad River, which limited easy retreat routes. That might sound risky, but it also sent a message: there would be no running forever. The open pastureland of the Cowpens area gave decent fields of fire and room to maneuver. It also reduced the chance that Tarleton could easily outflank the American line unseen.
2) A layered American formation
Morgan arranged his force in depth, essentially giving himself multiple chances to absorb the British blow and then counterpunch.
- Skirmish line: A screen of selected riflemen out front to sting the British advance and disrupt formation.
- Militia line: The famous instruction was simple and doable: fire a couple of good volleys, then fall back in an orderly way.
- Continental line: Veteran regulars behind the militia, positioned to hold under pressure and deliver controlled fire.
- Cavalry reserve: William Washington’s dragoons waited to exploit the moment when the British line lost cohesion.
3) Turning withdrawal into a weapon
This is the part I always linger on when I am walking the field. Militia had a reputation, sometimes deserved, for breaking. Morgan planned for withdrawal, controlled it, and used it as bait. When the militia fell back, Tarleton’s men surged forward, believing the Americans were cracking as usual. Momentum carried the British into the teeth of the Continental line.
4) The pivot and the trap closes
In the critical phase, the American center held, the militia reformed, and the American cavalry struck. Confusion in the British line, combined with pressure on the flanks, created the classic double envelopment effect. A fight that began as a confident British assault ended as a British collapse, with large numbers killed, wounded, or captured.
Morgan did not ask every soldier to be a hero. He asked each group to do one clear job, at one clear moment, and he built the whole battle plan around human reality.
Why Cowpens mattered
Cowpens was not the biggest battle of the war, but it was one of the most psychologically and operationally important American victories in the South.
- Tarleton’s force was shattered. That reduced British mobility and their ability to rapidly intimidate the backcountry.
- Greene gained momentum. The victory fed directly into the running campaign that culminated in Guilford Courthouse and ultimately wore Cornwallis down.
- It proved militia could be integrated successfully. Cowpens is a case study in leadership and planning, not luck.
If you have ever wondered why the Southern Theater feels like a series of marches and sudden clashes rather than neat battlefield scripts, Cowpens is a perfect chapter. It shows how victory could come from forcing your opponent to make predictable choices.
Visiting Cowpens today
Cowpens is managed by the National Park Service, and it is one of those parks where a short visit can still feel complete. You can also slow it down and get a much richer experience by walking with the battle in your head as you go.
Start at the visitor center
I always recommend beginning here, even if you are the type to dash straight to the trail. The exhibits help you put faces and units to the landscape. Ask about current trail conditions and any ranger programs. If you are traveling with kids or first time visitors, the visitor center sets the stakes before the quiet field tries to whisper the story on its own.
Walk the battlefield trail
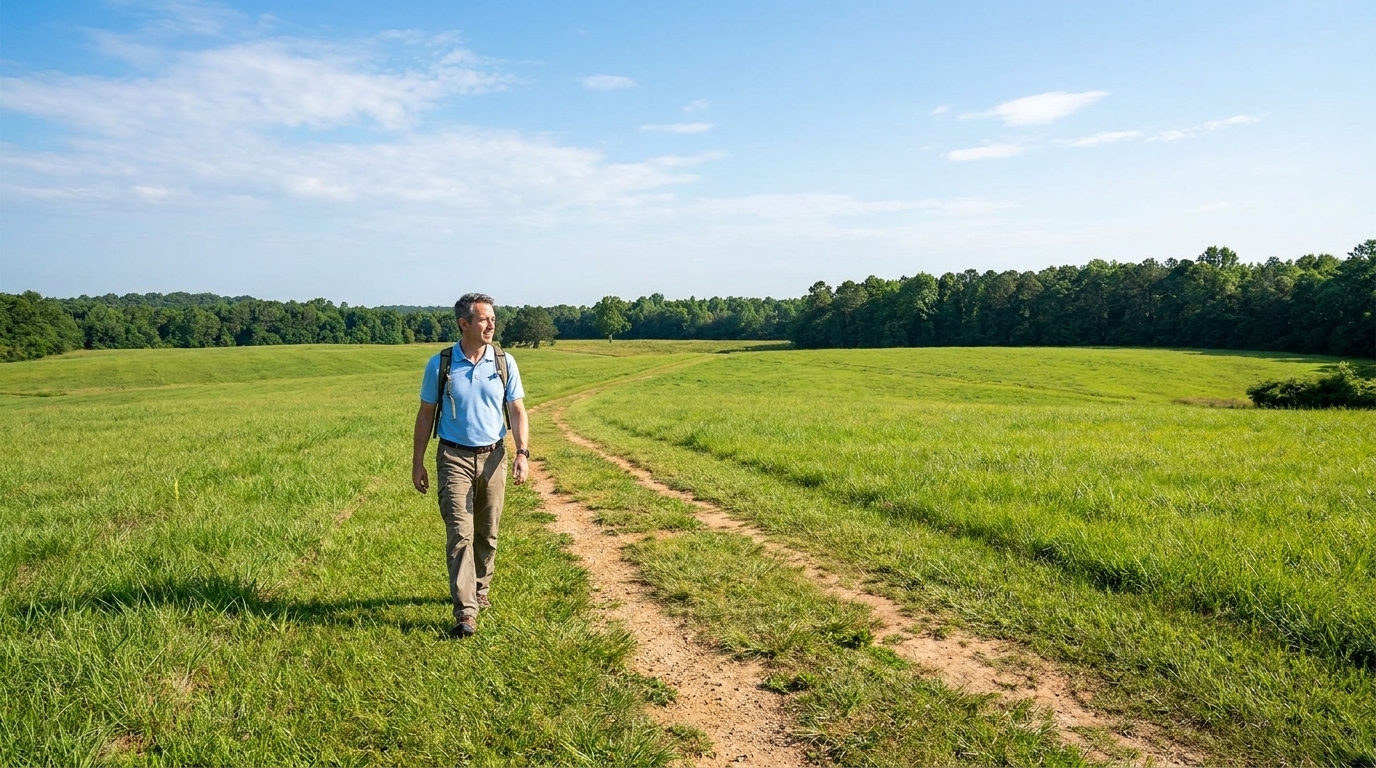
As you follow the trail, keep an eye on how the ground subtly rises and falls. The distances between lines were not huge, and that is part of the brilliance. This was close enough for one line’s movement to influence the next quickly. When the militia fell back, the British were suddenly nearer to the Continentals than they expected, and their formation and control began to fray.
Try this simple approach as you walk:
- First pass: Walk for orientation, just to see the layout.
- Second pass: Rewalk slowly and assign each area a role: skirmish, militia, Continentals, cavalry.
- Third pass (if time allows): Imagine sightlines. Where would you see a line wavering? Where would an officer struggle to communicate? Where would a charge start to outrun its orders?
Do not skip the Green River Road
One of my favorite things at Cowpens is not only the battlefield but the sense of travel and logistics preserved nearby. The park includes the Green River Road, a historic roadway that helps you understand how people, supply wagons, and armies actually moved through this region. It is a reminder that battles happened where roads and choices intersected, not where someone circled an empty spot on a map.
How long to plan
- Quick stop: 60 to 90 minutes for the visitor center and a short walk.
- Comfortable visit: 2 to 3 hours to take your time on the trails and exhibits.
- History focused half day: 3 to 5 hours if you like rereading signs, walking sections twice, and sitting quietly to picture the action.
Accessibility and trail notes
Expect a mix of paved and natural surfaces depending on where you walk. Conditions can change after rain, and the South Carolina sun can be deceptively strong even when temperatures feel mild. Bring water, and if you are visiting in warmer months, consider an early start.
What to look for
When I visit Cowpens, I look for three things that bring the battle to life.
- Spacing: The plan depended on distances that were manageable under fire. Too far and the militia withdrawal becomes a rout. Too close and you lose the layered effect.
- Edges and flanks: Cowpens is a battle about what happens when one side’s momentum creates gaps.
- Calm places: Pick a quiet spot and stand still. The landscape is not dramatic in a mountainous way, but it is exactly the kind of ground where decisions and discipline decide everything.
Adding Cowpens to a trip
Cowpens pairs well with a broader Southern Theater itinerary, especially if you enjoy seeing how one battle connects to another through roads, rivers, and choices made under pressure. If you are building a trip, my planning approach is simple: choose a few sites, give yourself time to walk them, and then add one local museum or historic town so the military story connects to daily life.
If you want a broader framework for planning, I keep my general tips here: Plan a Revolutionary War site visit. For more battlefield reading across the war, start with Battles. And if you are new to the site and want to know how I approach visiting these places, you can find me at Daniel Townsend.
Cowpens FAQ
When was the Battle of Cowpens?
The battle was fought on January 17, 1781.
Who won the Battle of Cowpens?
The Americans won decisively. Morgan’s force inflicted heavy losses and captured large numbers of British troops under Tarleton.
Why is Cowpens a tactical masterpiece?
Because Morgan designed a plan that accounted for the strengths and weaknesses of his mixed force, especially militia behavior under pressure, and used Tarleton’s aggressive attack style against him. The battle unfolded in layers and ended with the British being enveloped and broken.
Is Cowpens worth visiting on a tight schedule?
Yes. Even a quick walk on the field, paired with a stop in the visitor center, gives you a clear sense of the battle’s structure. Cowpens is one of those rare parks where the story matches the landscape in a very readable way.